Building up my stash of background papers
25 February 2015
First up, bargain basement ribbon.
The moral of this little haul is keep your eyes open. You never know where little gems will turn up. This lot came from TK Maxx.
Hearts Part III - and finish
22 February 2015
Do you remember my latest handmade book?
I can't blame you if you don't. It's been a bit of a saga to be able to share the finished article with you. I have been cursing technology this past week or so. It's all the jargon! All those file types, and the fact that I have a new (ish) laptop and don't really know what I am doing.
Anyway, I think all that is now sorted so here you go. I hope you enjoy it.
But before all that let me just remind you of the project.
It all started here, at the beginning so to speak.
And then I shared a bit more with you here.
You can see a bit more of the build up if you pop back to the links.
Any way, here is a closer look at finished article.
For the construction I used a mix or papers and vilene. I also used commercial bought tags (so beloved of scrapbookers etc.) but useful to cover in papers. Here is one such tag - the main one with the name of the book (and on the reverse I have written a little personal message to the recipients).
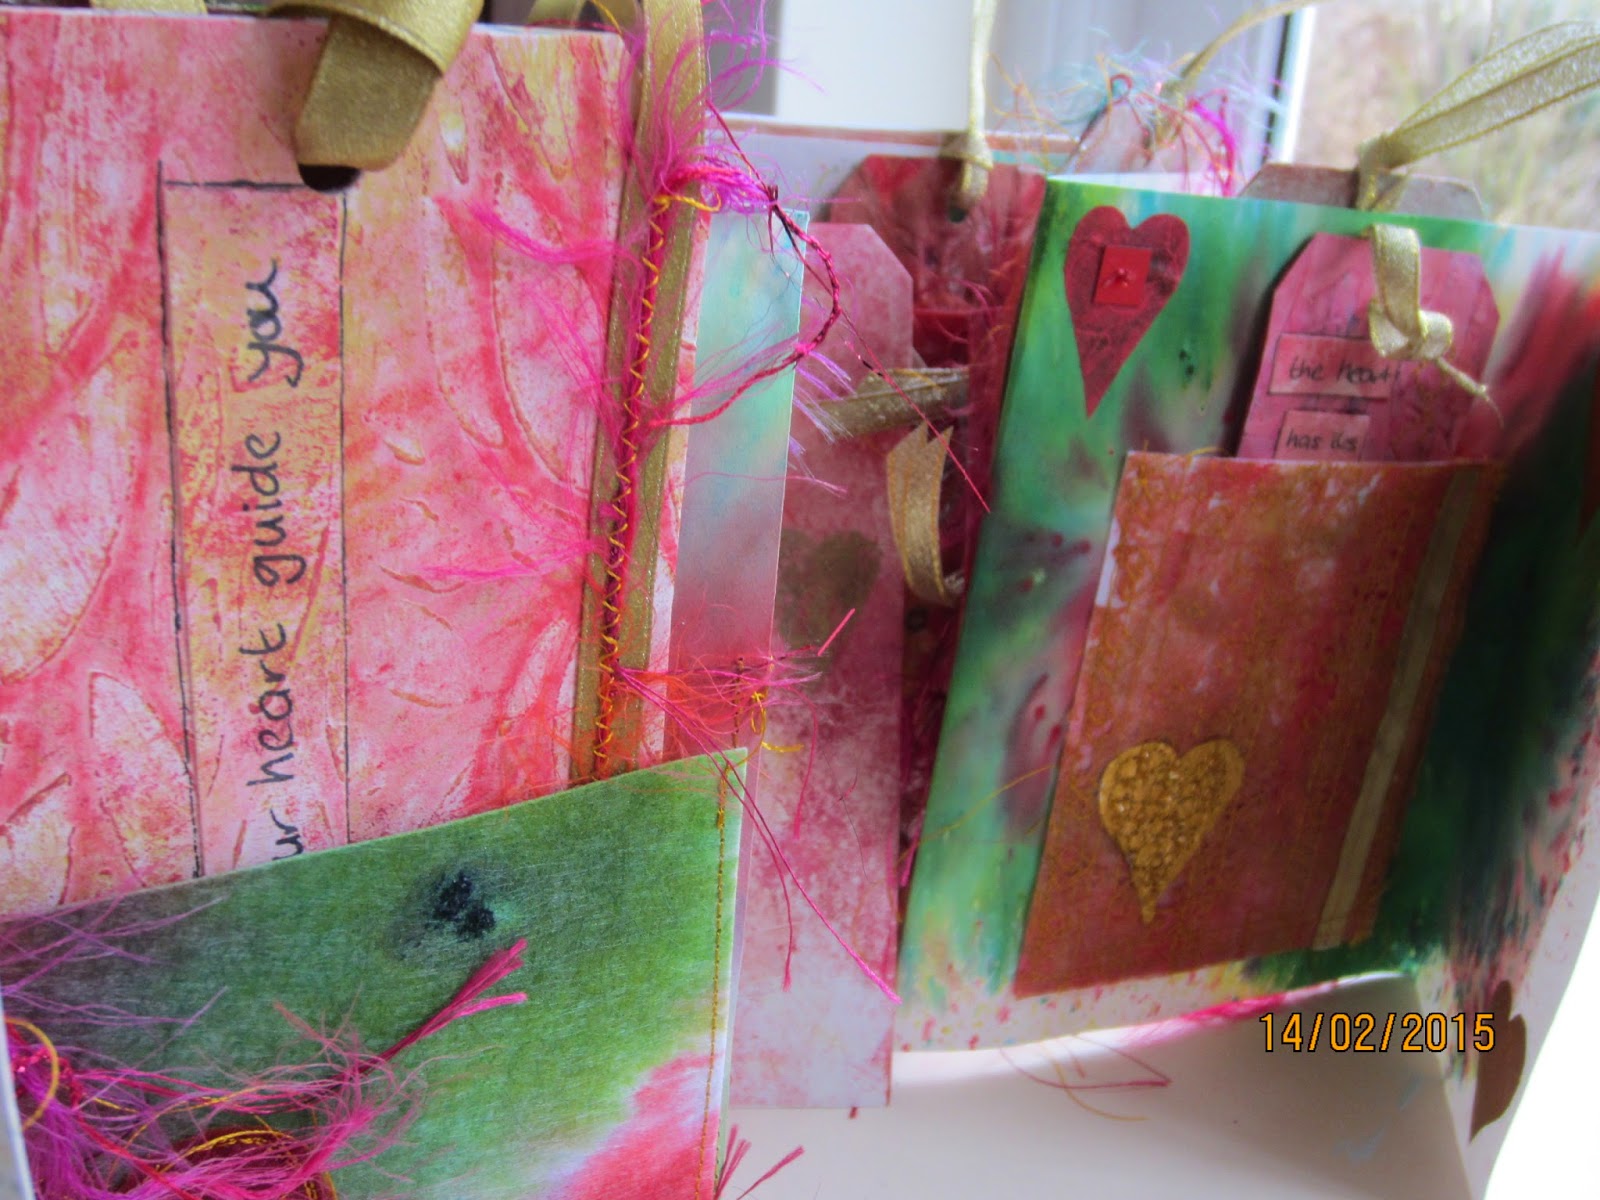
In the pics below, I have tried to show you the book opened up. I used a concertina structure for the pages, with pockets and tags with little heart related messages.
A close up of the opening flap with embroidered hearts.
Two pockets with tags poking out of the top.
The same page with the tag now taken out to show you.
More pockets, the one on the left using painted, stitched and 'burnt' lutrador over paper (on it's own the lutrador would not have enough strength) and the one on the right uses organza over painted and textured paper.
The right hand side of the book, with the outside flap closed .
The same view, but with the outside flap opened.
And the same view showing the detail of the tag from the pocket (that gold heart is collaged chocolate paper).
Closer detail of the heart showing the stitching.
Another page, this time the pocket itself has a little pocket with a mini tag.
Detail of a lutrador pocket, with a beaded and embroidered gold heart (again using foil from a chocolate wrapper).
3 mini tags in pockets on a pocket - close up.
The same page, less of a close up.
A mini tag with a painted bondaweb heart.
And finally, and this is where the technology was so very challenging, a little video to show you the finished article.
I can't blame you if you don't. It's been a bit of a saga to be able to share the finished article with you. I have been cursing technology this past week or so. It's all the jargon! All those file types, and the fact that I have a new (ish) laptop and don't really know what I am doing.
Anyway, I think all that is now sorted so here you go. I hope you enjoy it.
But before all that let me just remind you of the project.
It all started here, at the beginning so to speak.
And then I shared a bit more with you here.
You can see a bit more of the build up if you pop back to the links.
Any way, here is a closer look at finished article.
For the construction I used a mix or papers and vilene. I also used commercial bought tags (so beloved of scrapbookers etc.) but useful to cover in papers. Here is one such tag - the main one with the name of the book (and on the reverse I have written a little personal message to the recipients).
In the pics below, I have tried to show you the book opened up. I used a concertina structure for the pages, with pockets and tags with little heart related messages.
A close up of the opening flap with embroidered hearts.
Two pockets with tags poking out of the top.
The same page with the tag now taken out to show you.
More pockets, the one on the left using painted, stitched and 'burnt' lutrador over paper (on it's own the lutrador would not have enough strength) and the one on the right uses organza over painted and textured paper.
The right hand side of the book, with the outside flap closed .
The same view, but with the outside flap opened.
Closer detail of the heart showing the stitching.
Another page, this time the pocket itself has a little pocket with a mini tag.
Detail of a lutrador pocket, with a beaded and embroidered gold heart (again using foil from a chocolate wrapper).
3 mini tags in pockets on a pocket - close up.
The same page, less of a close up.
And finally, and this is where the technology was so very challenging, a little video to show you the finished article.
Let me know what you think (oh, and let me know if you can actually see the video. Just because I have cracked a bit of the technology does not mean to say you can actually view it.)
While we're all waiting .......
12 February 2015
........For a video to upload (the Hearts project is finished and I've rather ambitiously done another little video to guide you through it) I thought I would share something else.
We could be waiting for days at this rate. I don't know what's wrong with my internet, but I think either the broadband itself or the winking box in the corner from which it spews are rather ( no, painfully!) slow.
But I'm nurturing it and hope to be able to share it with you shortly.
So while we're all waiting, here is something to share.
I'm sure many of you will be familiar with the one woman power house that is Alisa Burke. You may not all like her signature, rather graffiti style, but you cannot deny her creative talent.
Well, she did this blog earlier in the year, and I thought you might find it useful
Meanwhile, back to the laptop. Stroking may or may not help!
Hearts - Part II
8 February 2015
The 'Hearts' project I mentioned in my last post is progressing - albeit slowly. Why do these things take 10 times longer than we think they will?
This week there has been a lot of snipping of little hearts - paper hearts, tissue hearts, hearts from painted bondaweb etc.
And there has been cutting up of the backgrounds to make pockets etc.
I think I forgot to mention that as well as the paper, I also used brush inks on some heavy weight vilene. And I stencilled some grunge paste from Paperartsy through the same stencil I had used for the gesso on the background papers. If you do this while the ink is still wet it will bleed through into the grunge paste. I love the background that makes.
I also made a high old mess!
Bit of thread selection going on.
I am going to use tags in this book. Last time, in my 'Seize the Day' book, I made tags from Vilene. This time I am covering lightweight card tags with the backgound papers.
Giving a lush pile of tags ready for the next stage.
A bit more auditioning - this time threads for decoration.
And then I had a brainwave (or a distraction!) and decided I needed some painted lutrador that I could stitch and blast with a heat gun
So I painted with the brayer (and those trusty Fresco Finish Paints).
And then I stitched (this is a 'set' stitch on my machine ).
And then I blasted with the heat gun. You can see a few holes here. The paint and the stitching resist the heat a bit.
And then I began to decorate the pockets.
Some of the background papers, stitched onto a Vilene pocket and a little row of green beads (but they look like spots in this photo.)
That's a bit better. You can see the beads on the left and another embroidery stitch from the machine.
And a bit more beading here.
And here is that zapped painted & stitched lutrador, with a paper heart and some twine zig zagged on.
More beaded hearts and zapped lutrador (mounted on more villein).
And I found some 'square sequins'. I really like them.
And more mess!
Golly, but there is still so much to do!
I need to call an end to these pockets and get on with the main book.
Subscribe to:
Comments (Atom)


