Transfer dyes

Freezer paper stencils
20 May 2012

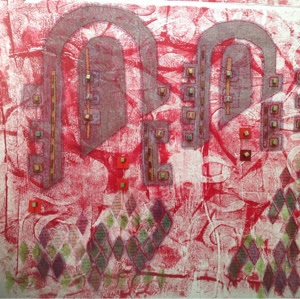
But I dragged myself off the sofa this evening and quickly cut a few stencils with freezer paper, which I then gently ironed onto that piece of 'wet on wet' painted fabric I produced a couple of weeks ago, and which demanded a bit of additional pattern. This paticular piece was just too wet - so all the paint just merged. I had used Dy Na Flow, a really good quality paint and it does look as though the fabric has been dyed.

Having ironed the shapes on to the fabric I felt it needed a bit of extra interest and found a bit of packaging with neat rectangles already cut out.
Frankly I was not up to anything too exhausting so i just grabbed a sponge and some fabric printing ink, a green I had already mixed up.

And I don't know about you, but I think the effect is actually quite successful.


So a bit fired up, I decided to use a piece of transfer dye paper that I had already prepared (I had sheets of paper with dried dye painted onto them, which I cut into squares and then restuck to a sheet of A4 photocopy paper - I could have just painted squares, but I did it 'the hard way').
I cut more freezer paper shapes, stuck them to a bit of rather nasty buff coloured synthetic fabric. And then applied a hot iron (using sheets of teflon to protect the fabric and the iron) for a long time! I don't really like this technique - my iron does not get hot enough I think, and the effects are a bit blotchy.
So here the shapes have not been removed.

And here I have removed the paper shapes. You can see the rather eratic blotchy effect from the iron (including the shapes on the plate, even though there was no water and the steam was off).
I think this technique could be more effective with a heating tool which gives a hotter temperature.

Transfer Dyes
3 March 2012
I have a bit of a love hate relationship with Transfer or Disperse Dyes.
I love some of the work other people produce with Transfer Dyes (Angie Hughes, or the ladies doing fabulous things at Morley College) but I don't love what I have done in the past.
Part of it may be the frustration of using the domestic iron (the heat press at Morley sounds fantastic - I am green with envy).
But Transfer Dyes (or to be more accurate, Transfer Printing) is on the agenda with the City and Guilds course so last week saw me re-kindling my relationship with Transfer Printing.
Actually, the experience was not so bad, though I cannot imagine how I can use this technique to produce a consistent piece of 1m of fabric.
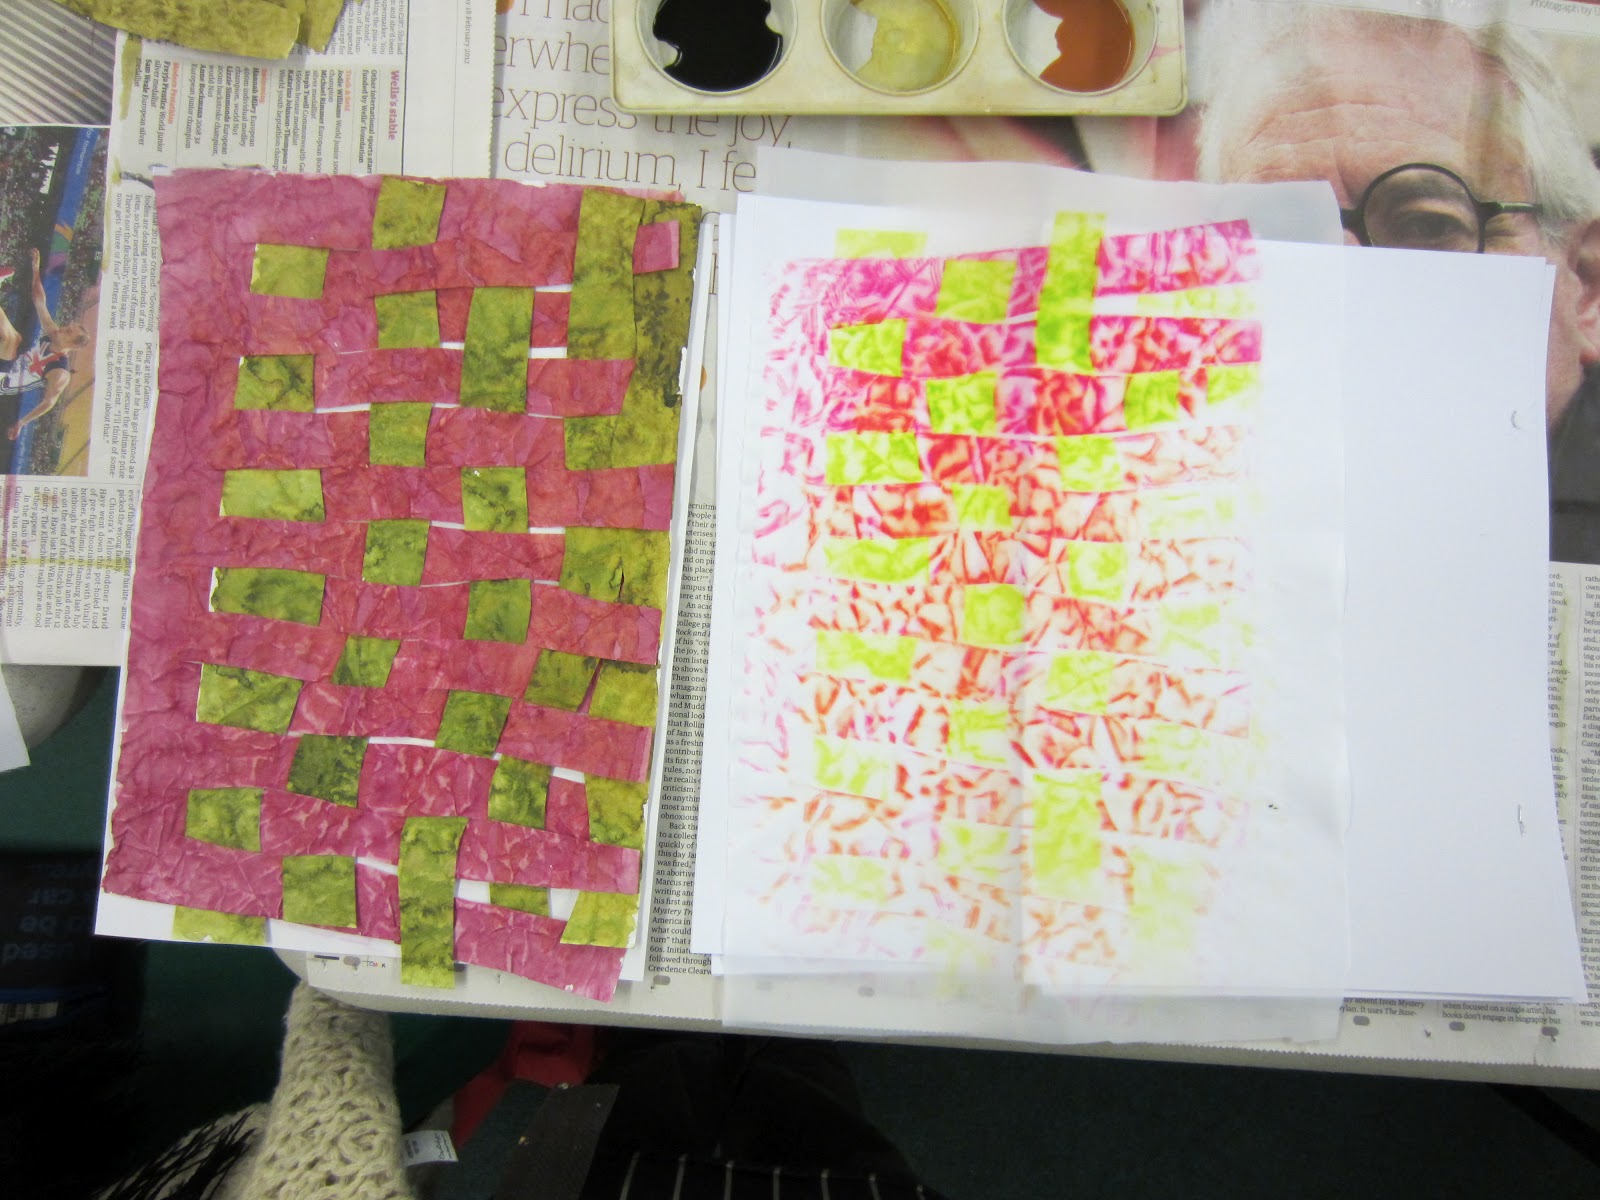
Because I have used this technique before I tried something a bit different. I crunched the paper before painting it. I used Leaf Green and Wine Red (shown below).

Then I cut the papers into strips and 'wove' them.
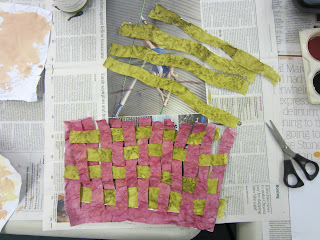
Then I wrestled with the domestic iron! Actually the results, though not consistent, are not so bad (that is the printed fabric on the right hand side). I used a teflon sheet under the paper when I ironed it and protected the iron with parchment paper. But as you can see, although I was convinced that I had used constant pressure, the is a gradient of effect on the fabric.


I love some of the work other people produce with Transfer Dyes (Angie Hughes, or the ladies doing fabulous things at Morley College) but I don't love what I have done in the past.
Part of it may be the frustration of using the domestic iron (the heat press at Morley sounds fantastic - I am green with envy).
But Transfer Dyes (or to be more accurate, Transfer Printing) is on the agenda with the City and Guilds course so last week saw me re-kindling my relationship with Transfer Printing.
Actually, the experience was not so bad, though I cannot imagine how I can use this technique to produce a consistent piece of 1m of fabric.

Because I have used this technique before I tried something a bit different. I crunched the paper before painting it. I used Leaf Green and Wine Red (shown below).

Then I cut the papers into strips and 'wove' them.

Then I wrestled with the domestic iron! Actually the results, though not consistent, are not so bad (that is the printed fabric on the right hand side). I used a teflon sheet under the paper when I ironed it and protected the iron with parchment paper. But as you can see, although I was convinced that I had used constant pressure, the is a gradient of effect on the fabric.
Meanwhile others in the group were experimenting with some different techniques. I will be interested to see how this comes out - applying the transfer dyes to the paper with a dry brush.


Subscribe to:
Posts (Atom)