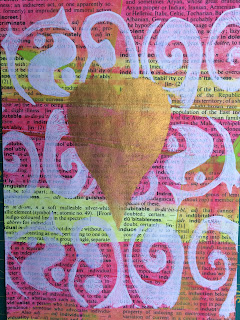
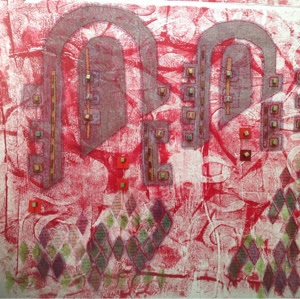
I had a session making Valentines cards. Now I know it's a bit late for Valentines, but bear with me because the technique would work with other motifs (in fact, as well as using a heart motif, I also used a leaf motif - so point proven!)
It's a simple technique - borrowed in part from Julie Fei Fan Balzer. Now, I am sure I have mentioned Julie before. In fact she does not need me to sing her praises. She is a one woman artistic power house!
But she posted a lovely little blog here. Go and have a look.
And I borrowed the idea of masking and printing, but I started with pages I had already inked up. (I always have a stash of papers to pull out when needed). In this case, dictionary pages coloured with a combination of Infusion Inks and Fresco chalk paints.
I cut a couple of stencils from paper. One was a heart, and one was a stylised leaf - you see, I told you it wasn't just about valentines.
I selected a range of papers and trimmed them to fit the card blanks I was using.
For this to work, you do need a fairly simple shape and one that is "connected". Remember, you want to use the shape you have cut our as a mask later in the process.
Despite having a tin full of home made 'stamps' and print blocks, I still felt I needed another one for this project - hence this mess.
In this case I used self adhesive foam sheets from Hobby Craft. In the photograph below the bottom block is the new one I made specifically for this project. The top one is a block made ages ago. I am sure I must have shared it before. I stick the foam onto stiff card - packaging from dog food is ideal I find. Cereal packets etc. are too flimsy while Boneo biscuit packets have enough oomph to take the paint and the cleaning afterwards!
I sometimes work with a craft knife when I use sheet foam to make blocks like this. Alternatively I snip the foam sheet with scissors.
Now, at this point my photography went awol. (I really do need to learn how to set up a little video camera for this sort of thing!)
There were two stages.
First - using the whole sheet of paper as a stencil, I added markel paint stick with a stiff stencil brush.
Second - using the shape cut from the same paper as a mask, I printed over using Fresco Paints and the block I had made.
(Pop over to Julie's blog to see how she does it.)
These were the colours I used (most of the papers were fairly dark and I wanted the pattern to be lighter than the background.)
This gave me a range of papers looking something like this (you can see the shimmer from the paint sticks).
Now, because this was, for the most part, dictionary pages I needed to add a bit of substance if I was to add stitch. So I mounted these papers onto a backing of stiffer paper (an assortment of khardi and other craft papers, also from my supply. I used Hi Tack glue - I find this doesn't make the paper wrinkle.)
And then I got the trusty sewing machine out - newly serviced and cleaned - and stitched the leaf and heart shapes.
And - voila!


Very beautiful cards with great ideas for backgrounds
ReplyDeleteLove Chrissie xx
This process looks like a lot of fun and a great way to experiment without much risk. I popped over to look at your glue, wondering if it was similar to the "Tacky Glue" product available here in the U.S. and that I often see recommended by multi-media people for use with paper. I was highly amused at the "Very Sticky" perhaps warning, perhaps merely descriptive addition under the product name on the bottle. I'm easily amused. ;-)
ReplyDeleteIt is actually very sticky. I do have to be a bit careful with the work table and all those scrips and scraps of paper lol!
Delete