Lasers and cycles - story of a commission
19 September 2018
It all began in January.

A lovely lady sent me an email asking if I ever did commissions. She explained that her partner, who had bought several of my pieces at last year's Hampshire Open Studios, really liked my work and had a 'big' birthday approaching and that she would like to commission a new work from me. Would I do a special piece for him?
Now this was a first for me, and in truth I did hesitate - but it was only for a moment. Yes, I said, of course. I would be delighted.
So she sent me the brief.
- His favourite colours were yellow and blue
- He loves sailing his laser dinghy
- He loves riding his bike - the Colnago C60
Could I work with that?
Yes, I said, I could - and then the muse left me!
I don't know if it was the pressure or the colours and subject matter ( well out of my comfort zone) but I found it a real struggle to envisage this piece.
But then, on holiday in Denmark, I saw a laser dinghy in the sea just near 'that Bridge', and it all began to come together.


Meanwhile I auditioned background papers.


At this point a new idea struck. I would use the shape of the silhouette of the laser. So I cut out a few shapes. Some were from painted papers and some from an A-Z of Gosport, the home of the customer.

I rummaged through the painted papers stash.
These looked promising.


Placing and experimenting.


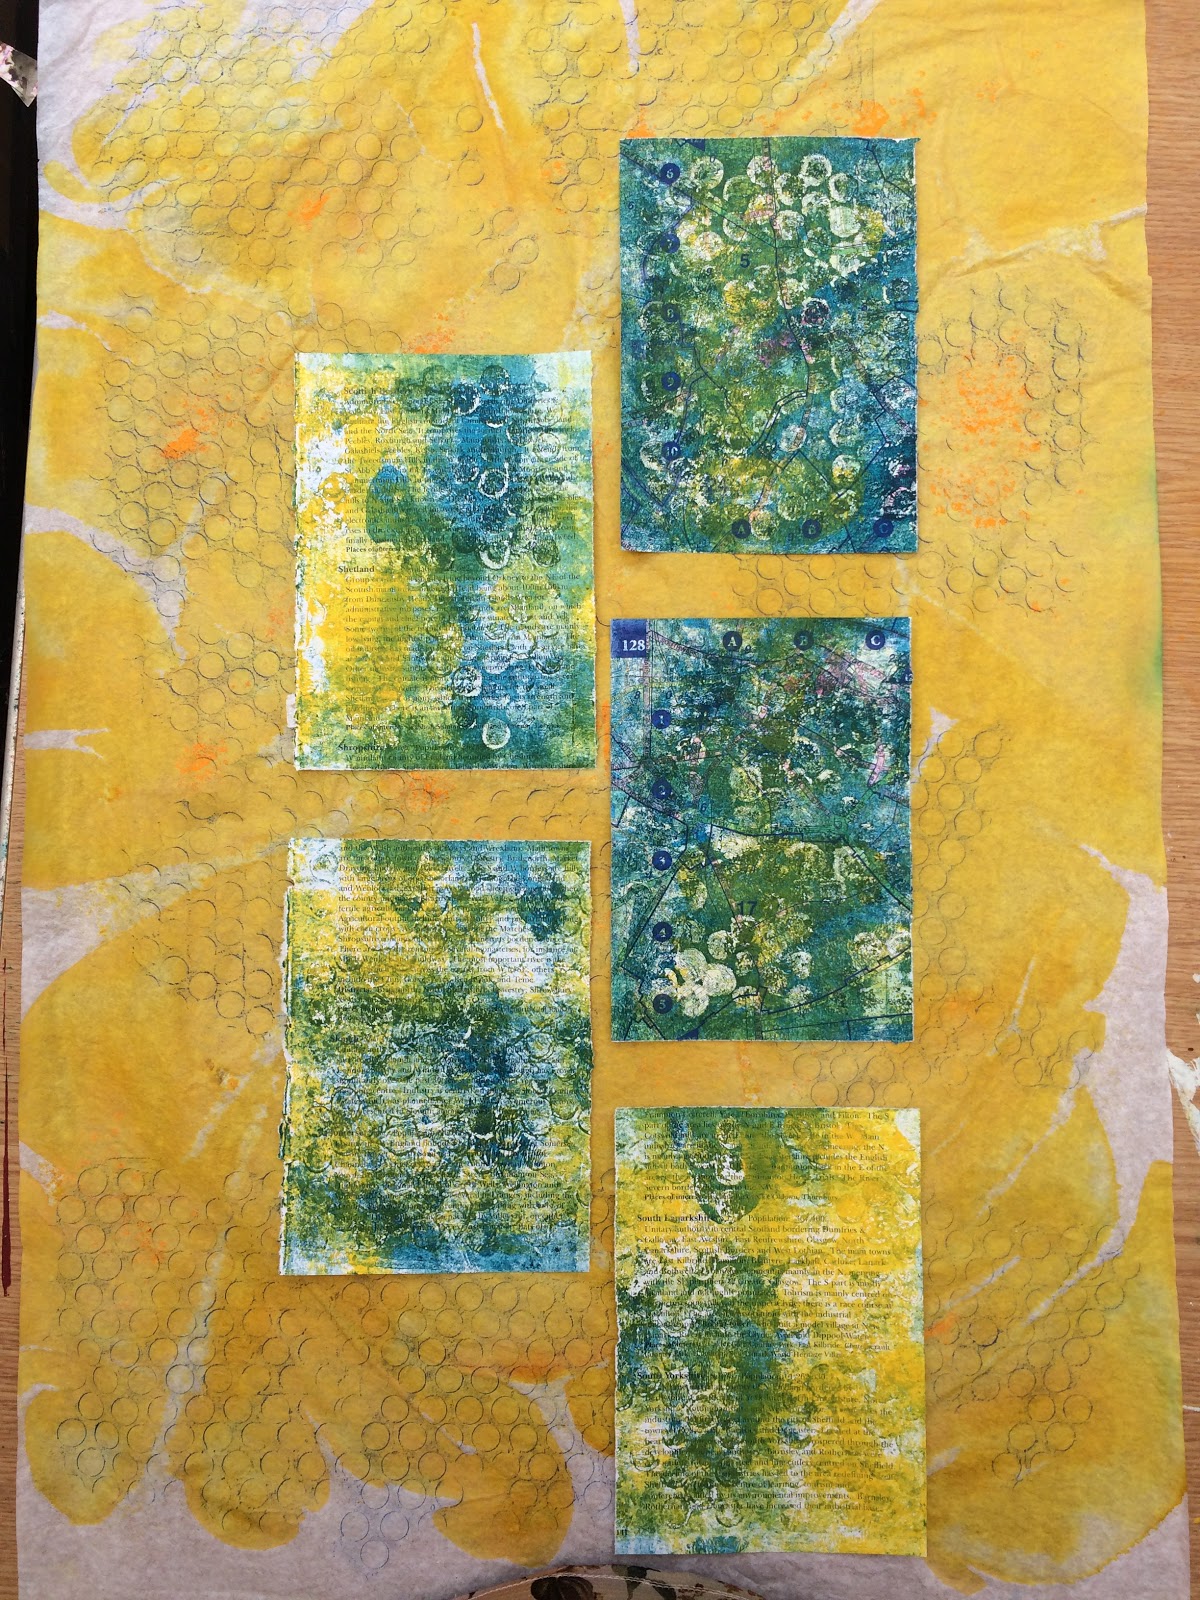


Meanwhile, more experimentation and beginning to incorporate a few place names. ('The Solent' for example).

And a brainwave with the bike! Tiny ribbons of coloured tissue. You have to look really hard, it doesn't detract from the design but I think it really works, tucked in there.


Stitched! (below).
It is fully stitched but I used a variegated thread, blue running to yellow. I stitched around the boat profiles but I did stitch over the three background blocks to tie them in.

And then added some additional blue hand colouring .

Free motion stitched ribbon using organza and dissolvable film. I'm introducing another colour here, a little bit of pink, so again this was not a rushed decision but one that needed to be carefully considered.


One happy customer and one very happy recipient.
Really pleased with this. It was a tough one but when I got going it came together really well.

Looking down - pattern beneath your feet
7 September 2018
Earlier in the year I had a wonderful holiday in Copenhagen and then, across the Bridge, in Malmo.
But I thought I would just return to these wonderful cities by sharing the fabulous selection of drain covers with you.


This one was in the breakfast room of the hotel in Copenhagen, hence the floor tiles.


Slightly bonkers I know, but quite inspirational for pattern or print blocks don't you think?

Introducing Dorothy
29 August 2018
Let me introduce you to an elegant lady of uncertain years.

This is Dorothy - and she is a caravan. But not an ordinary caravan (the picture below might give it away slightly, since most ordinary caravans have the tow bar at the front).


Dorothy is not quite what she seems because she is a folding caravan. All those sides collapse (you can see the 'seams' in the photo below). She is a Rapido - a french folding caravan. I think she is about 40 years old - may be a little older.
When she folds down she looks a bit like a trailer tent - all neat and compact and you would never know.
But when she is up she is a little gem of retro heaven.

She belongs to my lovely friends Rob and Andy and when they got her she was a bit past her prime. Like all ladies she needed a bit of a spa treatment.
So they recovered her seats and painted her walls (originally she would have been cream inside).
She has a neat little folding kitchen.

And she sleeps 4 people.
The table drops down to make a double bed.


The single at the other end can also be pulled out to create a wider bed. It is all quite intimate so I think it would be best if everyone knew each other pretty well.

She goes on jolly japes and adventures with Rob and Andy. And sometimes she doubles up as a spare guest room nestling against the plants in the front garden.


Such an elegant lady. And apparently, unlike ordinary caravans, very easy to tow.

A peak inside my process - lampshades from old maps
16 August 2018

I am sure that I have promised to share a process with you - how I make lampshades from old maps.
This started about 3-4 years ago. A happy accident if you will.
After my father died I was staying with my Mum, and we had a little session clearing out some of his stuff from the loft. One box contained old maps. Not historic, vintage maps. Just old maps that had been bought for holidays or we just had knocking around for a while.
Mum asked if I would get rid of them - perhaps I could take them to a charity shop.
So I put this box in the car and brought it home.
But I did not take it to the charity shop immediately. I brought it in from the car and plonked it down in the studio.
Now, at the time we were planning Transformation - the exhibition in Milton Keynes that we ran in October 2016. In the run up to the exhibition the concept of landscapes changing over time had been playing on my mind.
I looked at the maps in the box and realised that they would not be of much use to a charity shop. They were out of date. I cannot remember which one now, but one was of an area I knew quite well and there was a road missing - clearly a road had been built after the map was published. Not a lot of use as a map then!
And then I realised that the paper was just fantastic - it would be robust enough to take wet media and a bit of stitch. And I began to use maps as a background for a new body of work.


Now I love doing work for display on walls, but you run out of wall space and one day the idea of using the maps in a three dimensional way dawned on me - lampshades!
I have written about this before. You can see a previous blog post about making lampshades here.
But let's return to these. I promised I would share this process - and the key element is the background decoration.

Start with a map, a stencil and a wax crayon. The wax crayon will give you resist for the inks you will use later.
I just use a basic Crayola wax crayon - nothing special. The stencils I use for this are just commercial stencils. Again nothing special.

Vigorously use the crayon and the stencil to create a pattern. Put the stencil under the map and rub.
The picture below shows the sort of effect you get. You can make out the stencil pattern in the bottom right hand side of the map.

At this point I should tell you that the map above is not I used for these blue lampshades. In fact, for these lampshades, I used a white wax crayon and a different stencil. But you get the idea. (you can't see the wax with the white).

Then I use ink - in this case I was going for a vivid blue so I used Brusho inks.

Sprinkle the ink on and then spritz with water.
You want to be generous with the ink powder but not so much that you completely obliterate the map.
Here is the effect you are after and you can see the stencilling beneath.


You need to fix the ink. I use a spray fixative, in this case something I had bought from Hobbycraft.
I also had help! I was doing this in the garden on a lovely hot summers day.

Back to the map.


I chose the size of panel I wanted from my stock. This was not a particularly big map but large enough for two panels to turn into oval lampshades.
Then I selected embellishments. I have a number of different 'styles' of map lampshades - some are very heavily stitched but these I wanted to keep relatively simple.
I chose images from an old copy of 'Diary of an Edwardian Woman'. I have about 3 copies of this - I collect them from charity shops, snatching them up when I see them. The images are perfect for this sort of work and I really like the paper this book was printed on - it has a real 'watercolour paper' feel to it.

For these lampshades I selected bird related images, though with a couple of plants to add a bit of balance and interest.
I stick the paper onto the map, thinking about the construction of the final lampshade, and then stitch, in this case with a contrasting red thread. One thing to add is that I do iron the maps to press out creases and crumples. You want the paper as flat as possible when you construct the lampshade.
And finally, I assemble the lampshade.
As I mentioned above, I have done a similar tutorial on making lampshades before - and that included a video of how to actually assemble the shade. Pop over to this blog post to see the video and a slightly different take on map lampshades.
Finally, why not have a go yourself.
Thanks for reading.

Subscribe to:
Posts (Atom)