To start with, here's a great idea (and I was doing something similar in my Spanish sketch book)
Making Handmade Books: A Pen and a Water Brush: Pumpkin Tutorial:
This little tutorial explains how to use a simple pen (I used a paper mate) and water to create a bit of depth and character to a sketch - in this case a pumpkin.
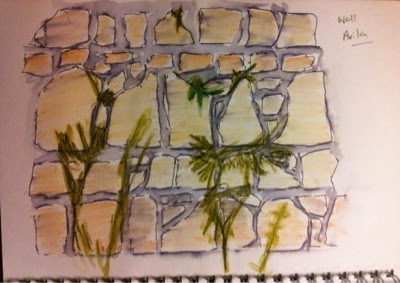
I was using a similar technique in the summer. Here is my wall - yes, I used a bit of watercolour, but once I had 'freed up' a bit with a pen and let it bleed into the water it all came together.
Talking of my Spanish wall, I think I told you that I made a print block (bit of cardboard from a cereal box and some soft foam sheet from the kids aisle at Hobby Craft).
It looked like this in my sketchbook/journal.
And so I then did a bit of mono printing - using a sheet of plastic, acrylic paint with acrylic retarder (to slow it 'down' - I did want to be able to lift the paper up after printing and not be left with a stuck mess!) and tissue paper.
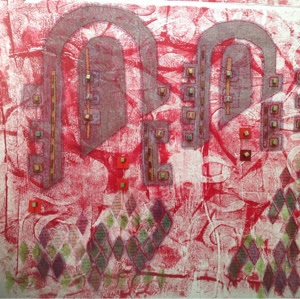
That gave me this (subsequently stuck down onto rag paper with matt medium).
And I have been fiddling about with additional printing, sticking, inking, more sticking etc. And I have been using some gold paint, hence the rather glossy photos.
That gave me this (subsequently stuck down onto rag paper with matt medium).
And I have been fiddling about with additional printing, sticking, inking, more sticking etc. And I have been using some gold paint, hence the rather glossy photos.


Oh yes, you are definitely getting somewhere! Love the addition of the flowers.
ReplyDeleteThanks - they're fiddly. I use chocolate wrappers for their shine and sparkle.
DeleteI really like the way that you have combined the techniques, very effective and so much depth in both pieces.
ReplyDeleteThanks Maggi - I have added some organza and stitch now to add to the depth, but still think it needs a bit more ( on one of them - other still to be stitched)
ReplyDelete