decorated papers

Valentines Cards (a little bit late!)
25 February 2018
I had a session making Valentines cards. Now I know it's a bit late for Valentines, but bear with me because the technique would work with other motifs (in fact, as well as using a heart motif, I also used a leaf motif - so point proven!)

It's a simple technique - borrowed in part from Julie Fei Fan Balzer. Now, I am sure I have mentioned Julie before. In fact she does not need me to sing her praises. She is a one woman artistic power house!
But she posted a lovely little blog here. Go and have a look.
And I borrowed the idea of masking and printing, but I started with pages I had already inked up. (I always have a stash of papers to pull out when needed). In this case, dictionary pages coloured with a combination of Infusion Inks and Fresco chalk paints.

I cut a couple of stencils from paper. One was a heart, and one was a stylised leaf - you see, I told you it wasn't just about valentines.
I selected a range of papers and trimmed them to fit the card blanks I was using.
For this to work, you do need a fairly simple shape and one that is "connected". Remember, you want to use the shape you have cut our as a mask later in the process.

Despite having a tin full of home made 'stamps' and print blocks, I still felt I needed another one for this project - hence this mess.

In this case I used self adhesive foam sheets from Hobby Craft. In the photograph below the bottom block is the new one I made specifically for this project. The top one is a block made ages ago. I am sure I must have shared it before. I stick the foam onto stiff card - packaging from dog food is ideal I find. Cereal packets etc. are too flimsy while Boneo biscuit packets have enough oomph to take the paint and the cleaning afterwards!
I sometimes work with a craft knife when I use sheet foam to make blocks like this. Alternatively I snip the foam sheet with scissors.

Now, at this point my photography went awol. (I really do need to learn how to set up a little video camera for this sort of thing!)
There were two stages.
First - using the whole sheet of paper as a stencil, I added markel paint stick with a stiff stencil brush.
Second - using the shape cut from the same paper as a mask, I printed over using Fresco Paints and the block I had made.
(Pop over to Julie's blog to see how she does it.)
These were the colours I used (most of the papers were fairly dark and I wanted the pattern to be lighter than the background.)

This gave me a range of papers looking something like this (you can see the shimmer from the paint sticks).


Now, because this was, for the most part, dictionary pages I needed to add a bit of substance if I was to add stitch. So I mounted these papers onto a backing of stiffer paper (an assortment of khardi and other craft papers, also from my supply. I used Hi Tack glue - I find this doesn't make the paper wrinkle.)
And then I got the trusty sewing machine out - newly serviced and cleaned - and stitched the leaf and heart shapes.


And - voila!

Getting back into the Studio
11 January 2017
But dogs have to be walked first.
And we have to commune with the local farm animals!
I think I have probably mentioned them before, but honestly they are so bonkers, these concrete cows. If they were not painted black and white I think you would struggle to recognise them as cows. They are not quite a literal representation.
But they are loved. Some kind soul even decorated them with tinsel over Christmas. I failed to get a photo to show you. Sorry about that!

And there are ducks to be chased! But despite leaning over the water, she is careful not to fall into the lake (though paddles quite happily in the brook.)
Now, rather a lot of chocolate was consumed over Christmas, but one upside of this is the packaging. I just love the potential with this packaging. I am thinking a bit of mono printing with the geli plate or just an acrylic sheet.

Talking of which(the mono printing, not the chocolate), I have at last made it back into the studio (which you probably guessed from the title of this post - no suspense there!)
And it felt good to be back - and not too cold!
One reason the studio has been a bit neglected (well, apart from Christmas) is that we have had a few cold snaps and it gets very cold out there. Basically, it is just a conservatory off my bedroom. Lovely when the weather warms up a bit (it was a balmy 10 degrees today - bliss) but challenging when it is several degrees below.
But, it was a good day today. Light and airy and welcoming. And warm!
Consequently I had a productive session adding to my selection of background papers.

Using A2 sheets of cartridge paper and PVA glue, I simply pasted down torn pages from an old dictionary.
That dictionary cost £1 from a charity shop about 2 and a half years ago. And its a big old thing and I have only just reached the letter C and I feel I have used it a lot. There are a lot more pages to go.
I simply pasted the PVA across the cartridge paper with an old credit card and then applied the ripped dictionary - using the credit card to smooth the book paper down and make sure the edges had been captured.
Then, and more as an experiment really, I sprinted ink powders onto a couple of the pages. Brusho above (you can tell from the sharp colours) and Infusions below (more of a vintage feel since they also contain walnut pigment)


So now those papers are hanging in the studio drying, ready for the next layer.
Oh, and one thing I forgot to show you in my last post was some paper bunting made before Christmas. I had some left over coloured map - not enough for a lampshade but enough for a little length of paper bunting. I will probably use that for stall decoration when I do my next sale or exhibition.


Birthday cards and sketchbook pages
22 October 2016
I needed a birthday card in a hurry.
So I assembled two cards using materials in my stash. The one on the left used a snippet of old map. The one on the right used paper textured with gesso and coloured with paints and inks.

I used 'ribbon' made from snippets of fine fabrics sandwiched between dis-solvable fabric and machine stitched.

And I have added colour using Inktense pencils to that sketch book page. I don't think I've showed you that.

Quite pleased with the effect. I'm seriously tempted to get a couple of sketchbook pages printed up into some fabric. However, they aren't repeat patterns. Have you ever tried that? If so, how successful was it?


Sunday studio day
18 October 2016
What with one thing and another, it has been a while since I have had a proper studio day.
So, Sunday was very welcome.
First of all, I had to unwrap presents to myself - some Infusion inks


Both from Paper Artsy.
Now I love their paints. I really do, and just to make this little package extra special look - they are a limited edition set put together by Seth Apter.

But you know what? Time in the studio is so very precious (as Kit Lang so rightly pointed out here), if someone else can mix the paints for me then why should I feel too guilty.
And look, when the paints land, they arrive with nifty little cards to tempt you even more.


What's not to love.
But lets get back to those inks!
Now, dear reader, if you follow this you will know that I am a bit of a fan of Brusho Inks. They creep into my work quite a lot.
Hence, I was keen to try some new inks that work on the same principle. They are dry powder and are activated when they get wet.

Sprinkle on paper, spritz with water and pure magic.


The difference with these inks and Brusho inks is walnut pigment (I think - anyhow it's a brownish pigment) so the effect is more 'vintage'. You can see this clearly in the pictures above as the ink colours capture the water.
But I still went a bit mad on a bit of khadi paper - see below, captured while wet. The colours are so vibrant when wet.


Then I experimented by sprinkling the powder onto the paint while the paint was still wet - with a bit of a spritz to help it along. (using an old dictionary page in this instance)


But then I just coloured some pages up to add to my stock - simply applying the colour with an old credit card. These are using paints from the new set.


Here I just grabbed my paint trolley and went for it.
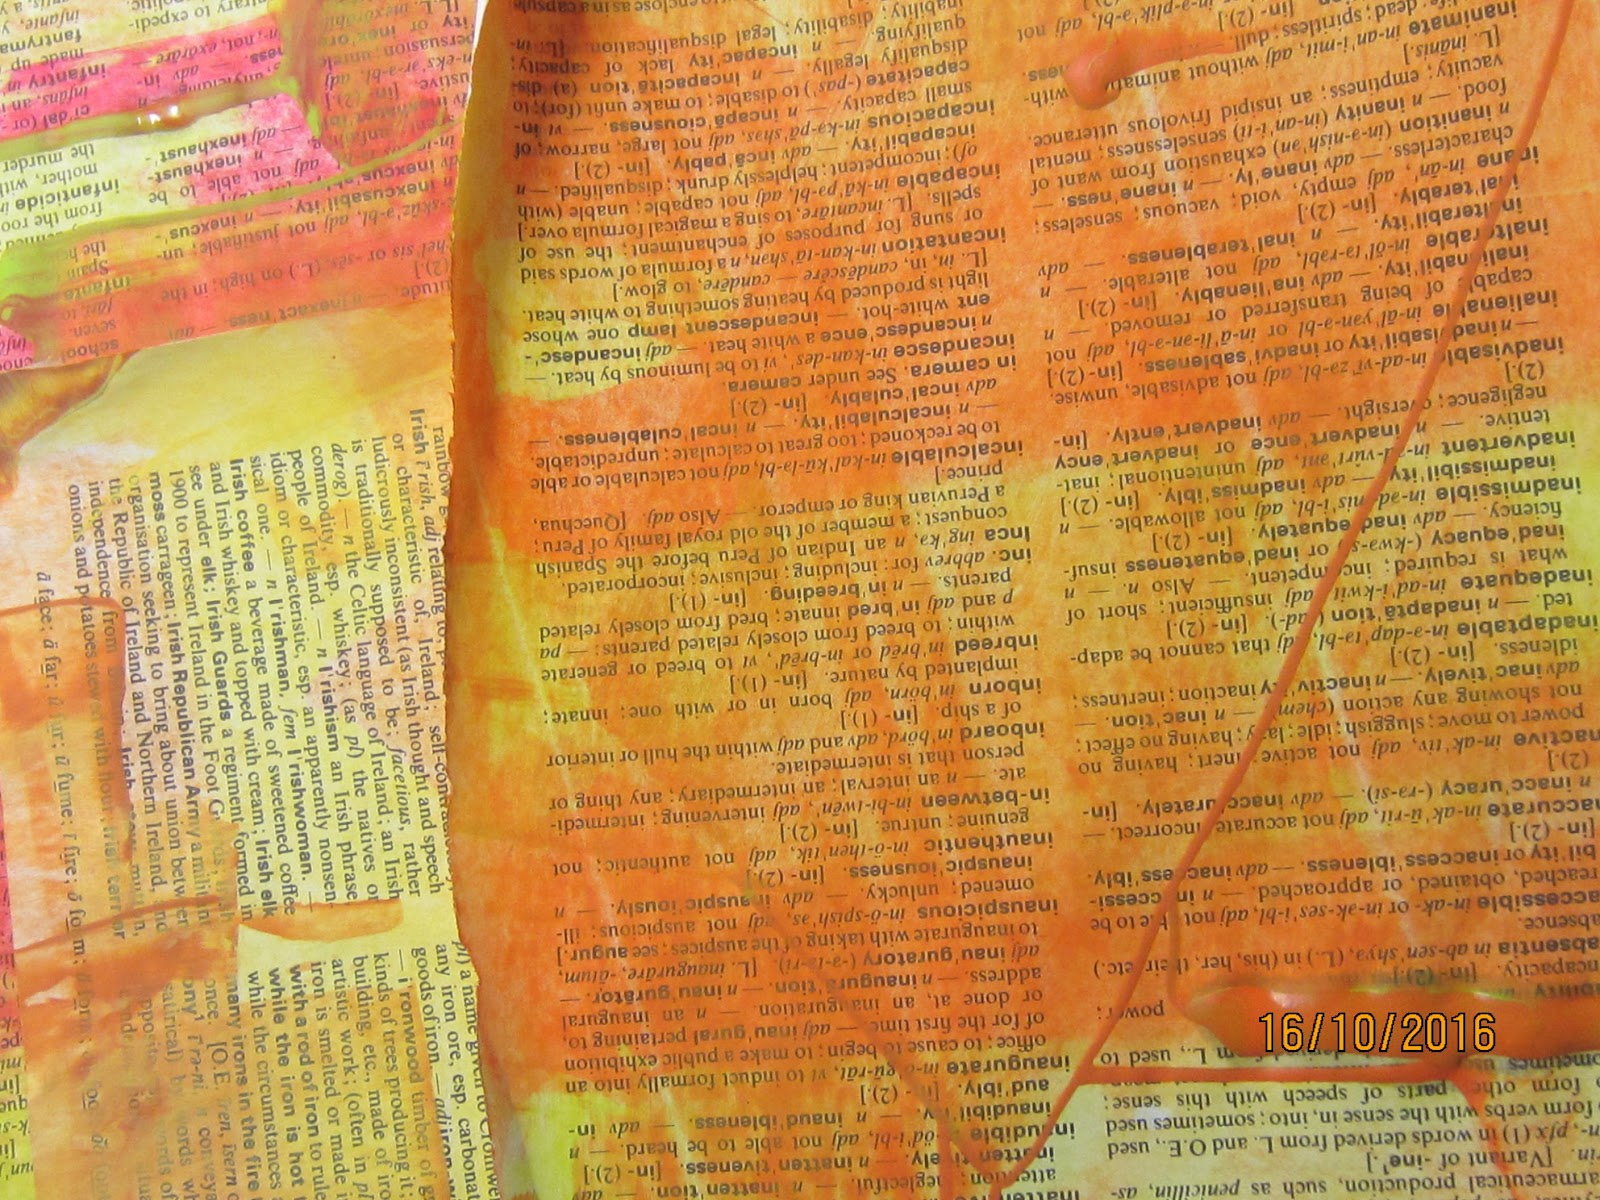
And finally a few pages with small amounts of paint and inks applied directly.


And last, but not least, inks applied directly to an old map.

All in all, a good day and mojo fired up.
And a good supply of pages for collage etc.
I will pop back and let you know what I think of the inks once they had dried.
Subscribe to:
Posts (Atom)