But again I have been packing in the creativity with a tight deadline so something had to give. Blogging v creating. Creating won!
And again ( too many agains, but bear with) said creativity has involved a Boneo box - but shhh - don't tell anyone since this is another present. Am I developing a Boneo obsession? Well as it is the lovely Chris Gray called me Boneo Bird when we met at the NEC. You decide ( though I suspect the next post won't have a Boneo theme, not least because the dog has moved onto Gravy Bones!)
You might want to grab another brew as another bit of a tutorial on how I did this one coming up. Settle down everyone. Are you sitting comfortably?
Right - I'll begin.
And in the beginning there was, yes, you've guessed! A Boneo Box!
And in the beginning there was, yes, you've guessed! A Boneo Box!

And a page from my sketch book.

Back to the boxes - in fact there were 3 boxes and I covered them all at the same time.
Brown paper and PVA glue (spread the glue all over the paper - I used an old credit card - and then smooth it down with your hand. You might have a few wrinkles, but that is not the end of the world).


Then, small calico squares (backed with Bondaweb and ironed on to the covers).

Then I applied a coat of white acrylic paint to give me a decent background to work with. I could have used gesso, but the gesso I have has a certain grainy texture which I didn't want. I also did not want to get involved with any sanding between coats. So a white heavy body acrylic works just fine. (I used Daler Rowney)

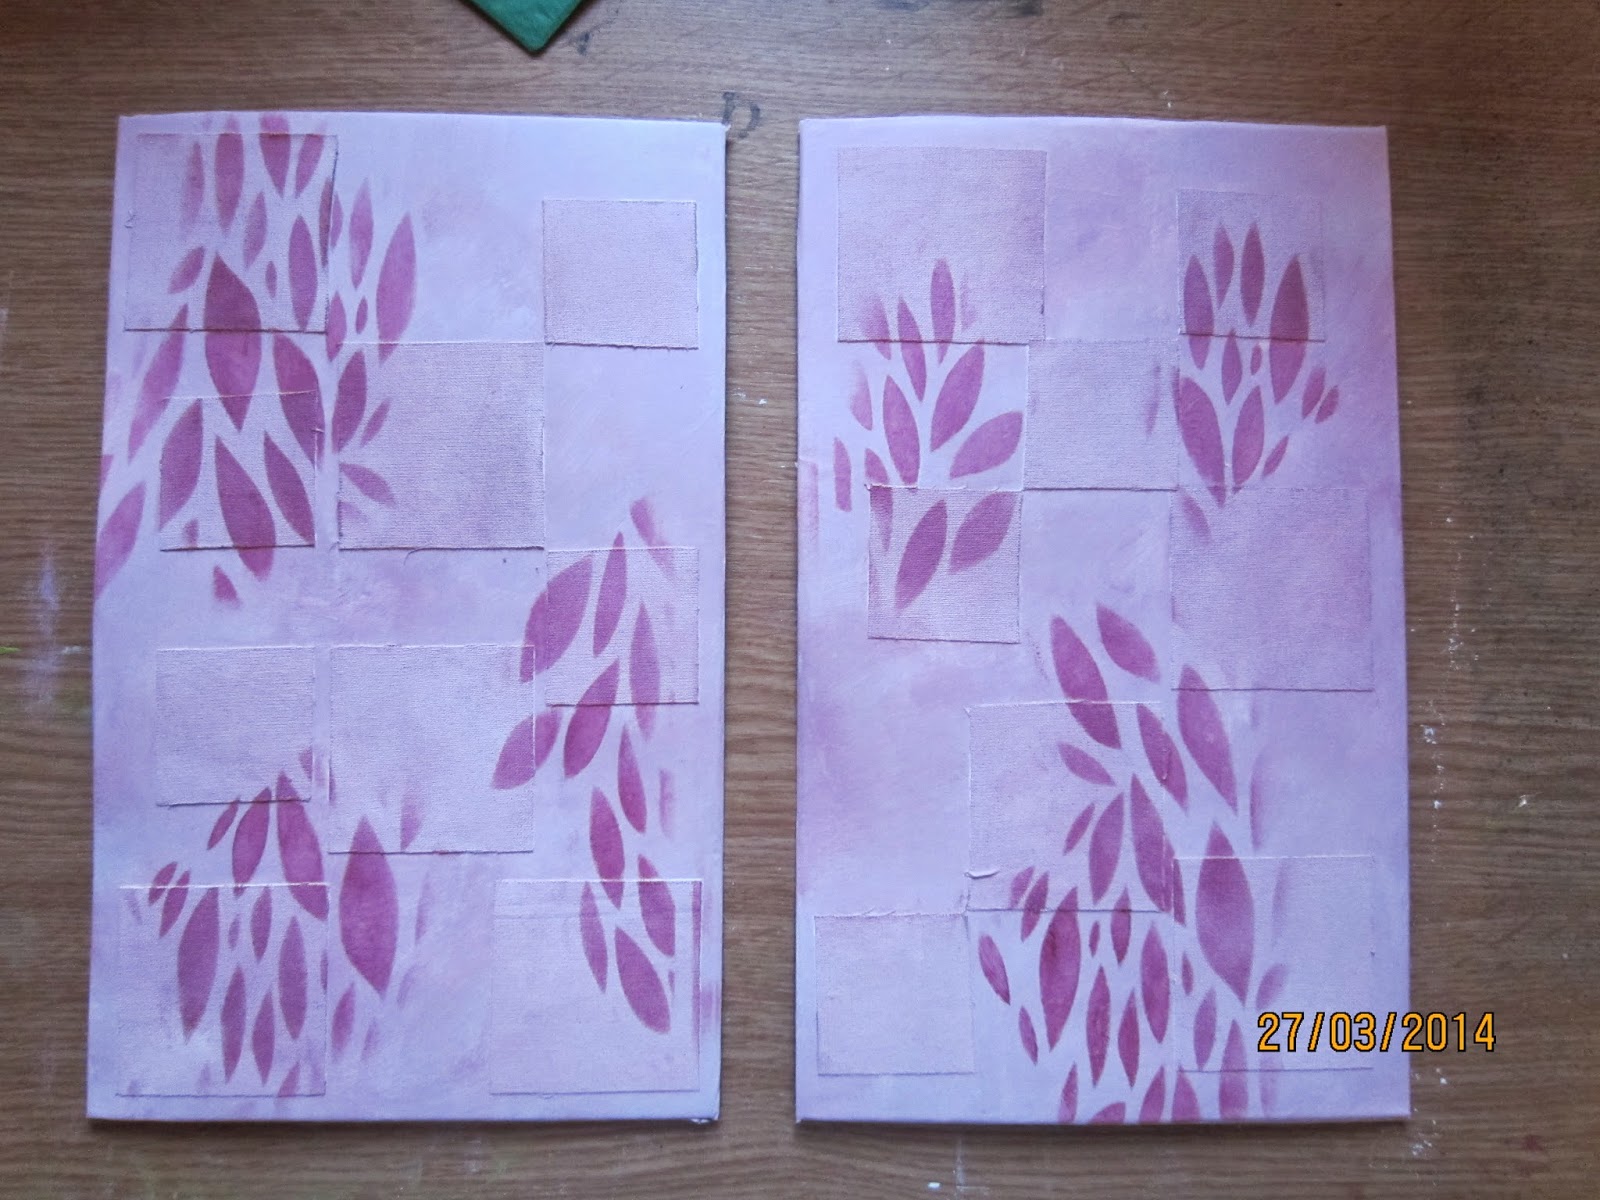
Then paint - again those lovely Fresco Finish acrylics from Paper Artsy. Pink for a girl.

The background is Blush with a touch of Very Berry.

I used a sponge. Here I am getting the next colours sorted out (Claret mixed into some Blush).

And here is a fab stencil I bought on my last outing to the NEC (which you can read about here).
I have no idea who the retailer was who had this stamp. It was all a bit chaotic. They were in the Hobbycraft gallery, rather than the textiles one.

Then paint - again those lovely Fresco Finish acrylics from Paper Artsy. Pink for a girl.
The background is Blush with a touch of Very Berry.
I used a sponge. Here I am getting the next colours sorted out (Claret mixed into some Blush).
And here is a fab stencil I bought on my last outing to the NEC (which you can read about here).
I have no idea who the retailer was who had this stamp. It was all a bit chaotic. They were in the Hobbycraft gallery, rather than the textiles one.

(Sorry about the colour changes here - some photos were taken in daylight and some under artificial light).
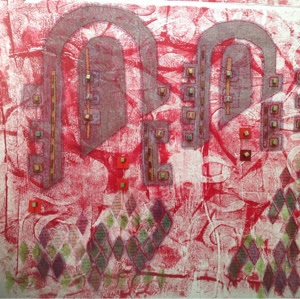
Next up a bit of coloured grunge paste.


And the stencil I cut for the last 'Book' I made.

Then I added some detail to the leaves with silver acrylic and a Pistachio green from the Fresco Finish range.

Then I cut out tiny silver foil leaves - it's the silver side I wanted.

And a button/ribbon combo to the front.

I should say that the silver leaves were stuck with matt medium and the whole cover was given a good coating of matt medium. It makes everything feel finished and gives a good finish.
Then I turned to the pages and tags.
I used rag paper for the pages and the same paints as before.


I added pockets to some of the pages.

Then I bound the pages. I had 8 pages and 4 signatures.
I wanted a different binding to the previous book, which had very loose bound pages so the recipient could, if wanted, actually slip a page out.
I actually did quite a bit of research into page binding techniques, before settling on this one which also uses ribbon. The book had much more stability with the ribbon - which is so pretty and girly. At this point I decided against beads.


Here are the book innards - looking a bit like a book (albeit a random book!)

And the book is a Christening present, for little Charlotte Rose (well, not so much her, but more of an album for her parents to record some happy moments. But drat! I forgot to take photos of the lovely day. Hope others did to stick in the book.)

And a recycled envelope for a pocket.


OK - so now I am getting very ambitious (and this is where I was having all sorts of technical difficulties - but as they say, live and learn) I made a little video of a flick through of the book. First of all I hope this technology works and second of all I hope you appreciate my droning on. Let me know what you think. I cannot promise to do loads of these unless I crack the technical difficulties, but I could try a few more if you like it.
As always, dear reader, thanks for dropping by and I do hope that your tea hasn't gone cold!


The book is beautiful Hilary, no wonder the parents liked it. Sadly, the video won't play for me. It just says "This video is private". You were right about the tea ;-)
ReplyDeleteJulie - when you have time, can you have another go? I had somehow set the video to private! I think it is now 'public', and logic dictates that you should be able to see it, but because I could see it anyway it is difficult for me to be sure - it's all a bit of a mystery.
DeleteMany thanks
Hilary xx
Not allowed to see the video but absolutely love the posting of your wonderful work....fantastic x
ReplyDeleteSorry Jill! Somehow (well, I did say it was my first!) I managed to set the video to private. It is now public so hopefully you will be able to see it. Fingers crossed!
DeleteCan't play the vid....but can I PLEEEEEEEEEEEEEEEse come for tea?!
ReplyDeleteLovely book by the way :-)
'Course you can come for tea! Earl Grey, PG tips, peppermint???
DeleteHoping I have sorted the video now. But a bit tricky since I can see it, so working out by a process of deduction. Lordy, but this stuff is all a bit tricky! xx (ps do you like cake???)
Thanks for all your comments.
ReplyDeleteVideo gremlins!! Grrrr!! Trying to sort out, but thanks for letting me know.
I really like the depth you get by stenciling the leaves with different values of the same color. I'll have to remember that!
ReplyDeleteSheila - thanks for stopping by! No one can see the video - I presume you can't either. Hoping that I may have fixed it now.
DeleteThanks for your kind comments.
I love working with these new paints. They are helpfully produced in colour families which gives a very good starting point to build depth of colour. I am not too hot about colour theory so this helps no end. I guess these paints I love so much are the British equivalent of Golden Fluid Acrylics.
As always, thanks for stopping by and for your comment. H xx
Finally found a minute to watch the video - it is quite good for your first try and I not only enjoyed seeing the innards of the book that way but also hearing your voice. The video gives a much better idea of how pretty this book is - it would be fun to see how the recipient decides to fill it - as you say, hopefully with some pictures. Must look into that ribbon binding technique - really like that.
DeleteAnd yes, it's always helpful when someone else groups colors for you... ;-)
Thanks for your kind comments. I thought the video was ok, but tucked it down at the bottom. Still got to start somewhere. I need to work out a better mounting system for the camera.
DeleteThat ribbon binding is so very good. I will definitely try it again.
I am wondering if I can do a book ( like this but bigger) for Festival of Quilts. But I am also doing a quilt which I haven't started yet, so I might run out of time. We'll see.
H xx
Yay! I can see the video now and hear you too :-) Well done, it's a good video, clear and concise and it shows your beautiful book off well.
ReplyDeleteThanks Julie. It was my first, so a bit of an experiment.
Delete